
How to make a gallery wall: plan every hole before you drill
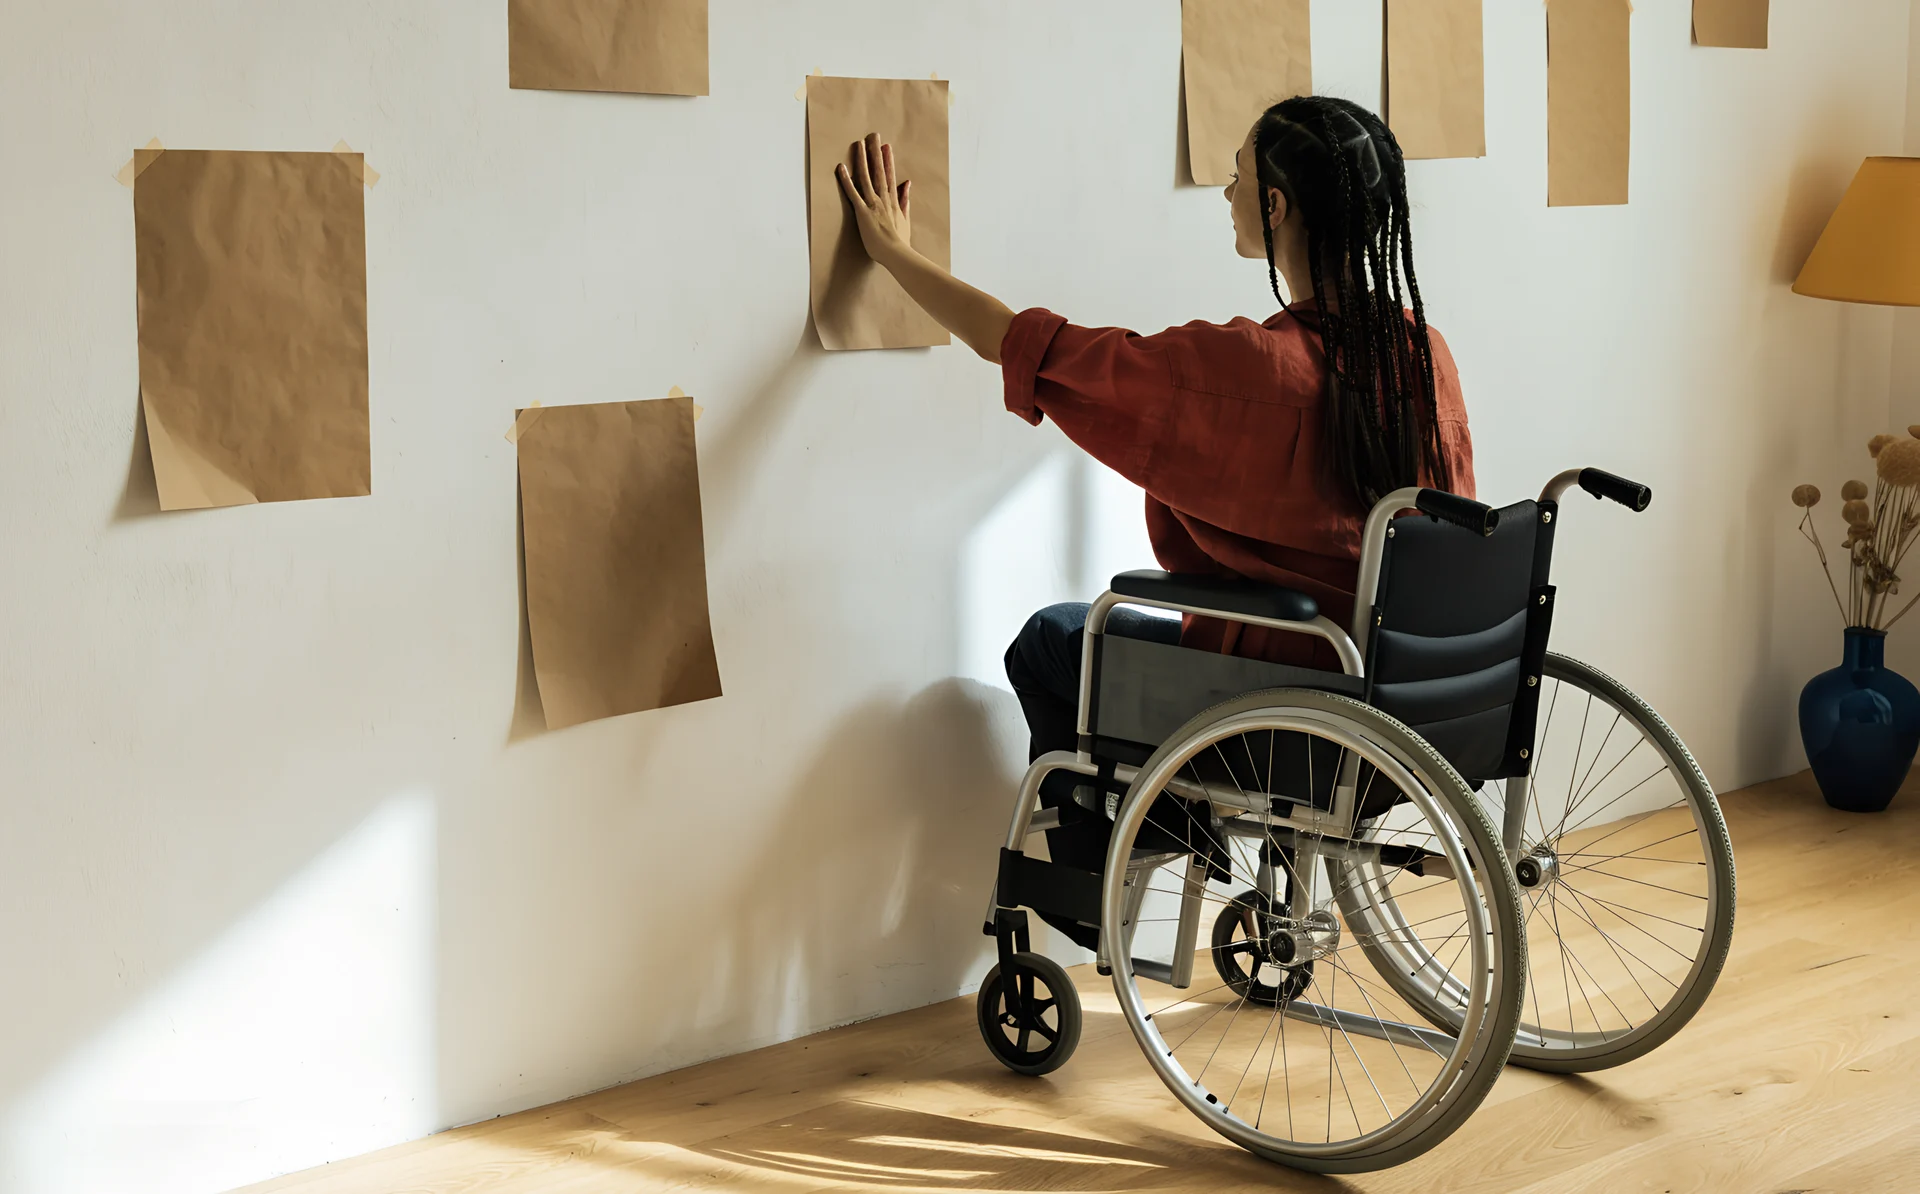
To plan a gallery wall, settle four things before you touch a drill: the layout family, the frame count and sizes, the spacing between frames, and the exact hook positions. Map all of that on a mock-up first, whether full size on the floor, in paper templates on the wall, or on a photo of your wall in a gallery wall planner. Get those locked and the holes you make are the only holes you make.
Most regret comes from skipping the plan and reaching for the hammer. One blogger at Bless'er House described the result plainly: "Our wall started to look like Swiss cheese thanks to all of my nail hole mistakes." This guide walks the whole plan, start to finish, so yours does not turn into Swiss cheese.
Why planning a gallery wall before hanging matters
Planning first saves you from three expensive mistakes: extra holes you have to fill and repaint, prints bought in the wrong size or quantity, and a finished wall that hangs crooked or off-centre. The fear is real and widely shared, and it is the single biggest reason people stall on a blank wall for months.
A designer at The Zhush reports that the most common client email subject line she gets is "the big blank wall behind my couch", and the sentence she hears most often is "I'm afraid of making an expensive mistake." The Ponds Farmhouse calls hanging the nails "the scariest part", and notes that frames "shift" and go "cock-eyed" days later. An Apartment Therapy writer was candid about the stakes: "That precision stressed me out, which is part of the reason why I put off creating gallery walls in my home in the first place."
The cost of getting it wrong is not just emotional. In a 2024 Clever Real Estate survey of 1,000 US homeowners, 35% said they had had to completely redo a home renovation project. A gallery wall is a small renovation. Planning it properly is how you stay out of that 35%.
How to make a gallery wall, step by step
Plan a gallery wall in six steps: choose a layout family, decide the count and sizes, set consistent spacing, mock up the whole arrangement, mark the hook positions, then hang the anchor piece first and build outward. Each step removes a decision you would otherwise make mid-hang, on a ladder, with no easy way to start over.
Step 1: Choose your layout family first
Pick one of three layout families before you buy a single frame, because the family dictates how many frames you need and what sizes they should be. The three are the grid, the salon (also called organic), and symmetrical pairs or rows.
- Grid: identical frames in identical sizes with equal gaps. Clean, calm, and the most forgiving to plan because every measurement repeats.
- Salon or organic: mixed sizes balanced around a centre line. It looks relaxed but takes the most planning, because balance is judged by eye rather than by ruler.
- Symmetrical pairs or rows: two, four, or six matched pieces arranged with a mirror line. A middle path that reads as deliberate without the grid's rigidity.
Choosing the family up front is what stops you buying five frames for a layout that wanted seven.
Step 2: Decide how many frames and what sizes
Use the size of the furniture below the wall to set your numbers. A starter gallery wall is 3 to 5 pieces; a full wall is 8 to 15. As a rough planning rule, budget about 1 frame per 1.5 to 2 square feet (0.14 to 0.19 square metres) of the area you want to cover.
For width, the whole arrangement should span 66% to 75% of the width of the furniture beneath it, a proportion recommended by MontCarta. A 2 metre (about 79 inch) sofa therefore wants a gallery wall around 1.3 to 1.5 metres (51 to 59 inches) wide. Narrower than that and the art floats; wider and it overwhelms the piece below.
| Wall size | Pieces | Best layout family | Covers (width of furniture below) |
|---|---|---|---|
| Starter | 3 to 5 | Symmetrical row or small grid | About 66% |
| Medium | 5 to 8 | Salon or 2 by 3 grid | 66% to 70% |
| Full statement | 8 to 15 | Salon or large grid | 70% to 75% |
Step 3: Set your spacing and keep it consistent
Keep the gaps between frames consistent at 2 to 3 inches (5 to 7.5 cm). The exact number matters far less than holding it steady across the whole wall. A uniform 3 inch (7.5 cm) gap reads as intentional; gaps that drift from 2 to 5 inches read as a mistake, even when nobody can say why.
Common advice conflicts here. Some guides push a tight 2 inch (5 cm) gap, others a looser 3 inch (7.5 cm) one, and a few say to vary the spacing for an organic feel. Resolve it like this: pick one gap, write it down, and apply it everywhere. Consistency is the rule. The number is a preference. Varying spacing on purpose only works once you can already nail a consistent one, so start consistent.
Step 4: Mock up the whole wall before you commit
Mock up the entire arrangement before a single hole goes in. This is the step that everything else depends on, and there are two honest analogue ways to do it plus one faster digital one.
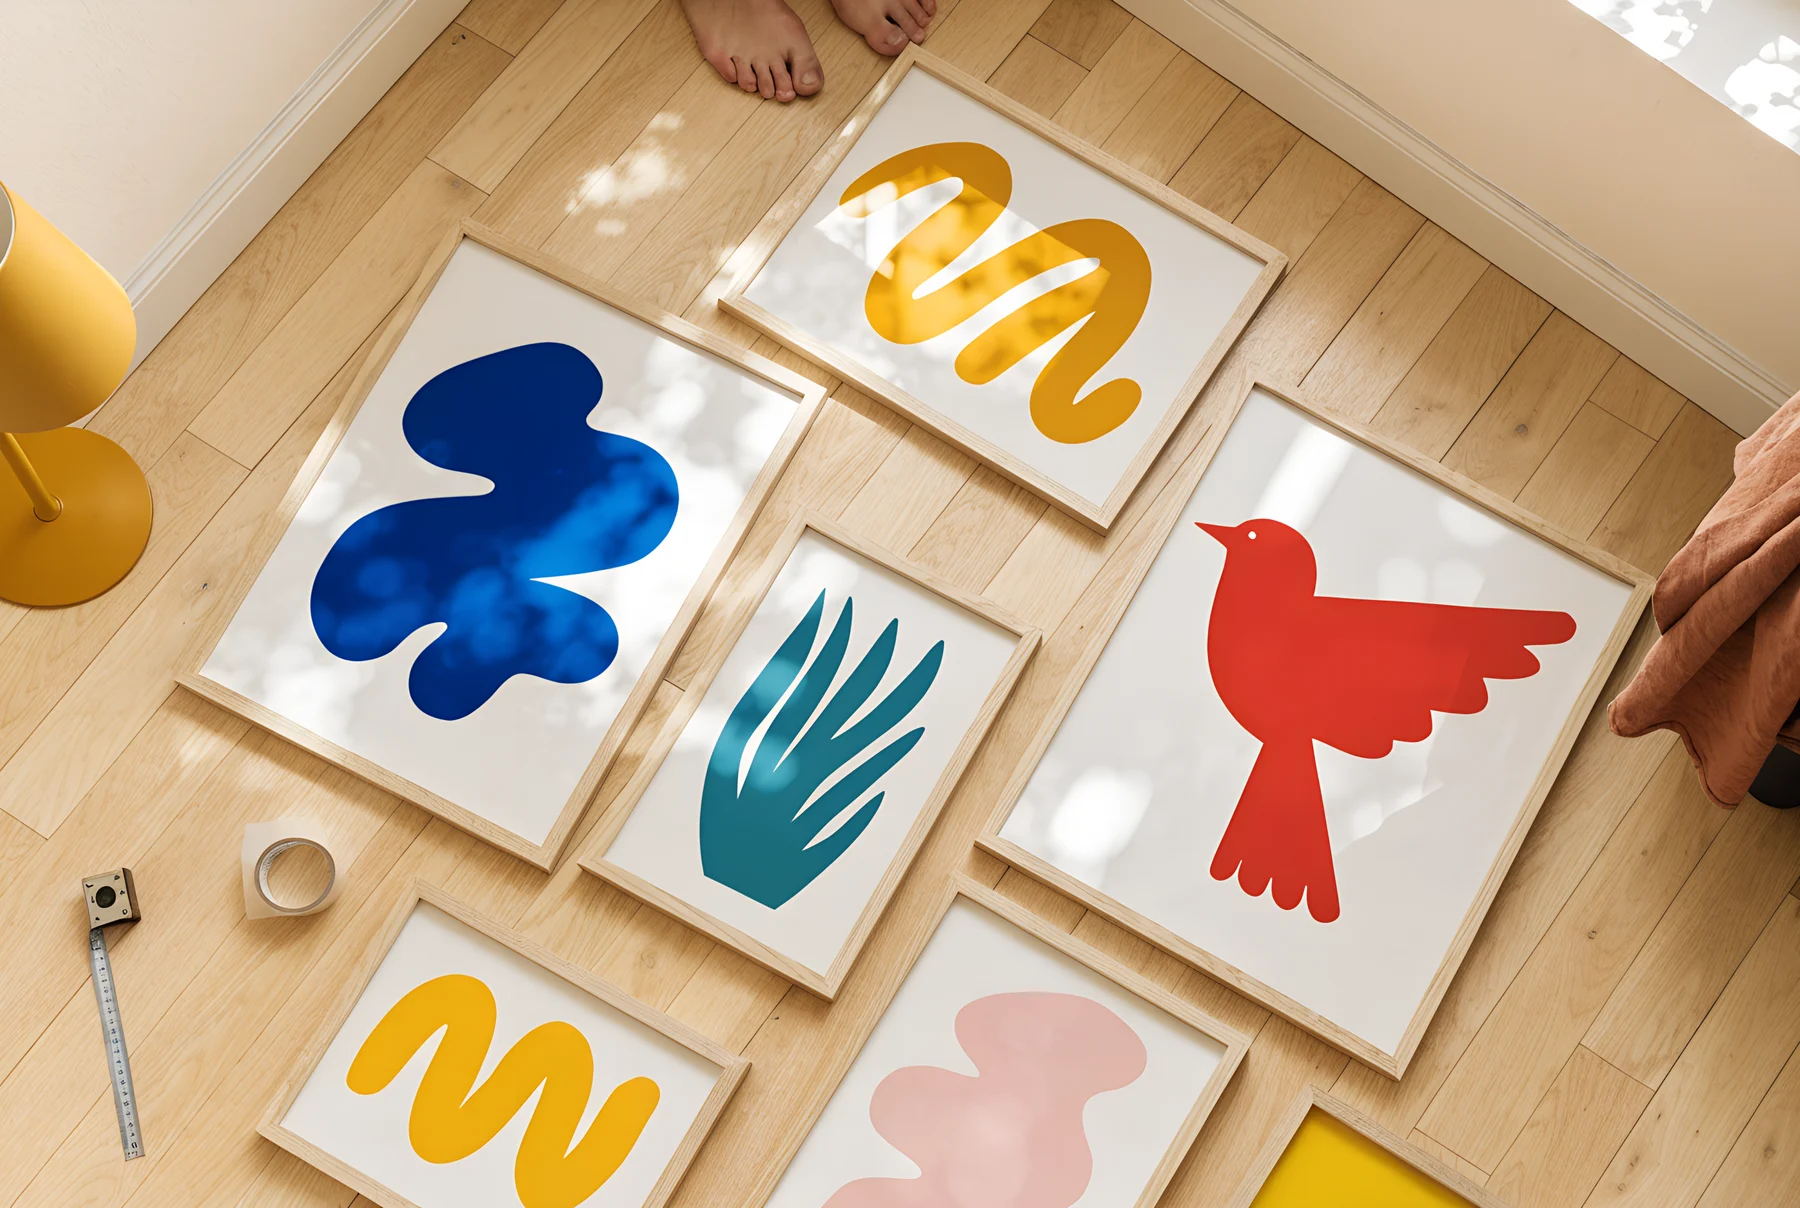
The floor method: lay every frame out on the floor directly below the wall and rearrange until the composition works. You move real frames, so the sizes and weights are true, but you are looking down at a horizontal layout and guessing how it reads vertically.
The paper-template method, recommended across Young House Love, Bob Vila and Bless'er House: cut brown kraft paper templates to the exact size of each frame, tape them to the wall with painter's tape, step back, and adjust. Mark the hook position on each paper template, hang the frame straight through the paper, then tear the paper away. This kraft-paper gallery wall template is the most reliable analogue method because you judge the layout vertically, at real size, in the actual room, before any hardware goes in.
To judge your own wall honestly, borrow Emily Henderson's trick: "Pretend it's not your house and that you have no emotional connection to it." Distance from your own taste is what lets you see whether the balance is working.
A digital gallery wall planner replaces the floor and the paper. You plan on a photo of your actual wall, see how each print sits against the furniture, swap pieces and spacing instantly, and read off the hook positions before you drill. This is where Curate fits: you arrange the whole wall on a photo of your own wall, preview it (including in AR on your phone, so you can stand in the room and look at it), and only then buy or hang. It does the same job as the kraft paper, without the tape, the offcuts, or the second trip to buy more paper.
Step 5: Mark your hook positions, not your frame corners
Mark where the hook or D-ring sits, not where the top corner of the frame lands. The hanging point is almost always lower than the top of the frame, by the depth of the wire's sag, so measuring to the frame edge leaves every picture hanging higher than you planned.
If you used paper templates, you already have this solved: the mark is on the paper, and you hang straight through it. If you laid out on the floor or planned digitally, measure the drop from the top of the frame to the taut hanging wire for each piece, then transfer that offset to the wall. The gallery wall calculator does that arithmetic from your own measurements and gives you the hook height and the hook positions across. Art Academi is blunt about skipping this: eyeballing placement "usually ends in frustration and a wall full of unnecessary nail holes." Before any nail or screw goes in, check each mark with a cable and pipe detector, and keep clear of the zones within 6 inches (15 cm) of the ceiling and corners and in line with sockets and switches, where cables are expected to run.
Step 6: Hang the anchor piece first, then build outward
Hang the largest piece first as the anchor, then arrange the lighter satellite frames around it. The anchor sets the visual centre of gravity and the height for the whole wall, so once it is level and right, every other frame is positioned in relation to something fixed rather than to empty wall. Working largest to smallest also means the fixings for your biggest piece, two hooks if it is wider than about 24 inches (60 cm), go exactly where the plan said, while the small frames have room to shift a centimetre without anyone noticing.

What fixings should you use for a gallery wall?
Match the fixing to the wall type and the frame weight. Renters and light frames can use adhesive strips; solid plaster takes a picture hook for light frames and a screw and wall plug for heavier ones; plasterboard on studs is strongest fixed into a stud; and UK dot-and-dab plasterboard needs a specialist fixing for anything heavy. Choose this before you mock up, because the fixing can limit how big a frame the wall will hold.
For renters and lighter pieces, 3M Command strips are the common choice. The Large picture-hanging strips, the strongest in 3M's UK range, hold roughly 7.2 kg (15 to 16 lb) across four pairs. Keep frames to about 5 kg (11 lb) on them, because strips fail near their limit. They are single use, and 3M says not to use them on textured walls, wallpaper, or paint applied within the last 7 days. Solid plaster walls take a traditional brass picture hook for light frames, which is small, strong, and leaves a tiny hole; if the pin will not go in, or the frame is heavy, use a screw and wall plug.
UK homes deserve a specific warning. Many are built with dot-and-dab plasterboard, where the board sits on blobs of adhesive with a cavity behind it. A standard wall plug pushed into that cavity can pull straight back out under the weight of a framed print. Heavier frames on dot-and-dab need a specialist fixing such as Corefix or Gripit, which bridge or grip the cavity properly. This is a brief field guide, not the full manual; our piece on how high to hang a gallery wall covers placement, and a dedicated fixings deep dive is the right place for load ratings by wall type.
Plan once, hang once
The whole point of planning a gallery wall is to move every decision off the wall and onto a mock-up where mistakes cost nothing. Settle the layout family, the count, the sizes, and the spacing. Build the arrangement full size on the floor or in paper templates, or on a photo of your wall on screen. Mark the hooks, hang the anchor first, and the wall you imagined is the wall you get.
If you want to skip the kraft paper and see your own wall before you drill, you can plan the whole thing on a photo of it with Curate's gallery wall layout planner, then work out the hook positions in the gallery wall calculator when you are ready to hang. Next, get the height right with our guide on how high to hang a gallery wall, and size your prints with what size to print photos for your wall.
Frequently asked questions
How do I plan a gallery wall layout without making holes?
Mock up the full arrangement first. Cut brown kraft paper to each frame's exact size and tape it to the wall, or lay the frames out on the floor, or arrange them on a photo of your wall in a gallery wall planner. Adjust until the composition works, then mark the hook positions before you drill.
How much space should I leave between frames on a gallery wall?
Leave 2 to 3 inches (5 to 7.5 cm) between frames, and keep that gap consistent across the whole wall. The exact figure matters less than holding it steady, since uniform spacing is what makes the arrangement read as deliberate rather than accidental.
How many pictures do I need for a gallery wall?
A starter gallery wall uses 3 to 5 pieces and a full wall uses 8 to 15. As a planning rule, budget about 1 frame per 1.5 to 2 square feet (0.14 to 0.19 square metres) of area, and aim for the whole group to span 66% to 75% of the width of the furniture below it.
Which frame should I hang first?
Hang the largest piece first as the anchor, then arrange the lighter frames around it. The anchor fixes the visual centre and the height, so every other frame is placed in relation to something solid rather than to empty wall.
Can renters hang a gallery wall without drilling?
Yes. Use 3M Command picture-hanging strips, where the Large size, the strongest in the UK range, holds about 7.2 kg (15 to 16 lb) across four pairs. Keep each frame to about 5 kg (11 lb) to leave a margin. They are single use, and 3M advises against textured walls, wallpaper, or paint applied within the last 7 days.