Family photo wall ideas: multi-generational and legacy walls
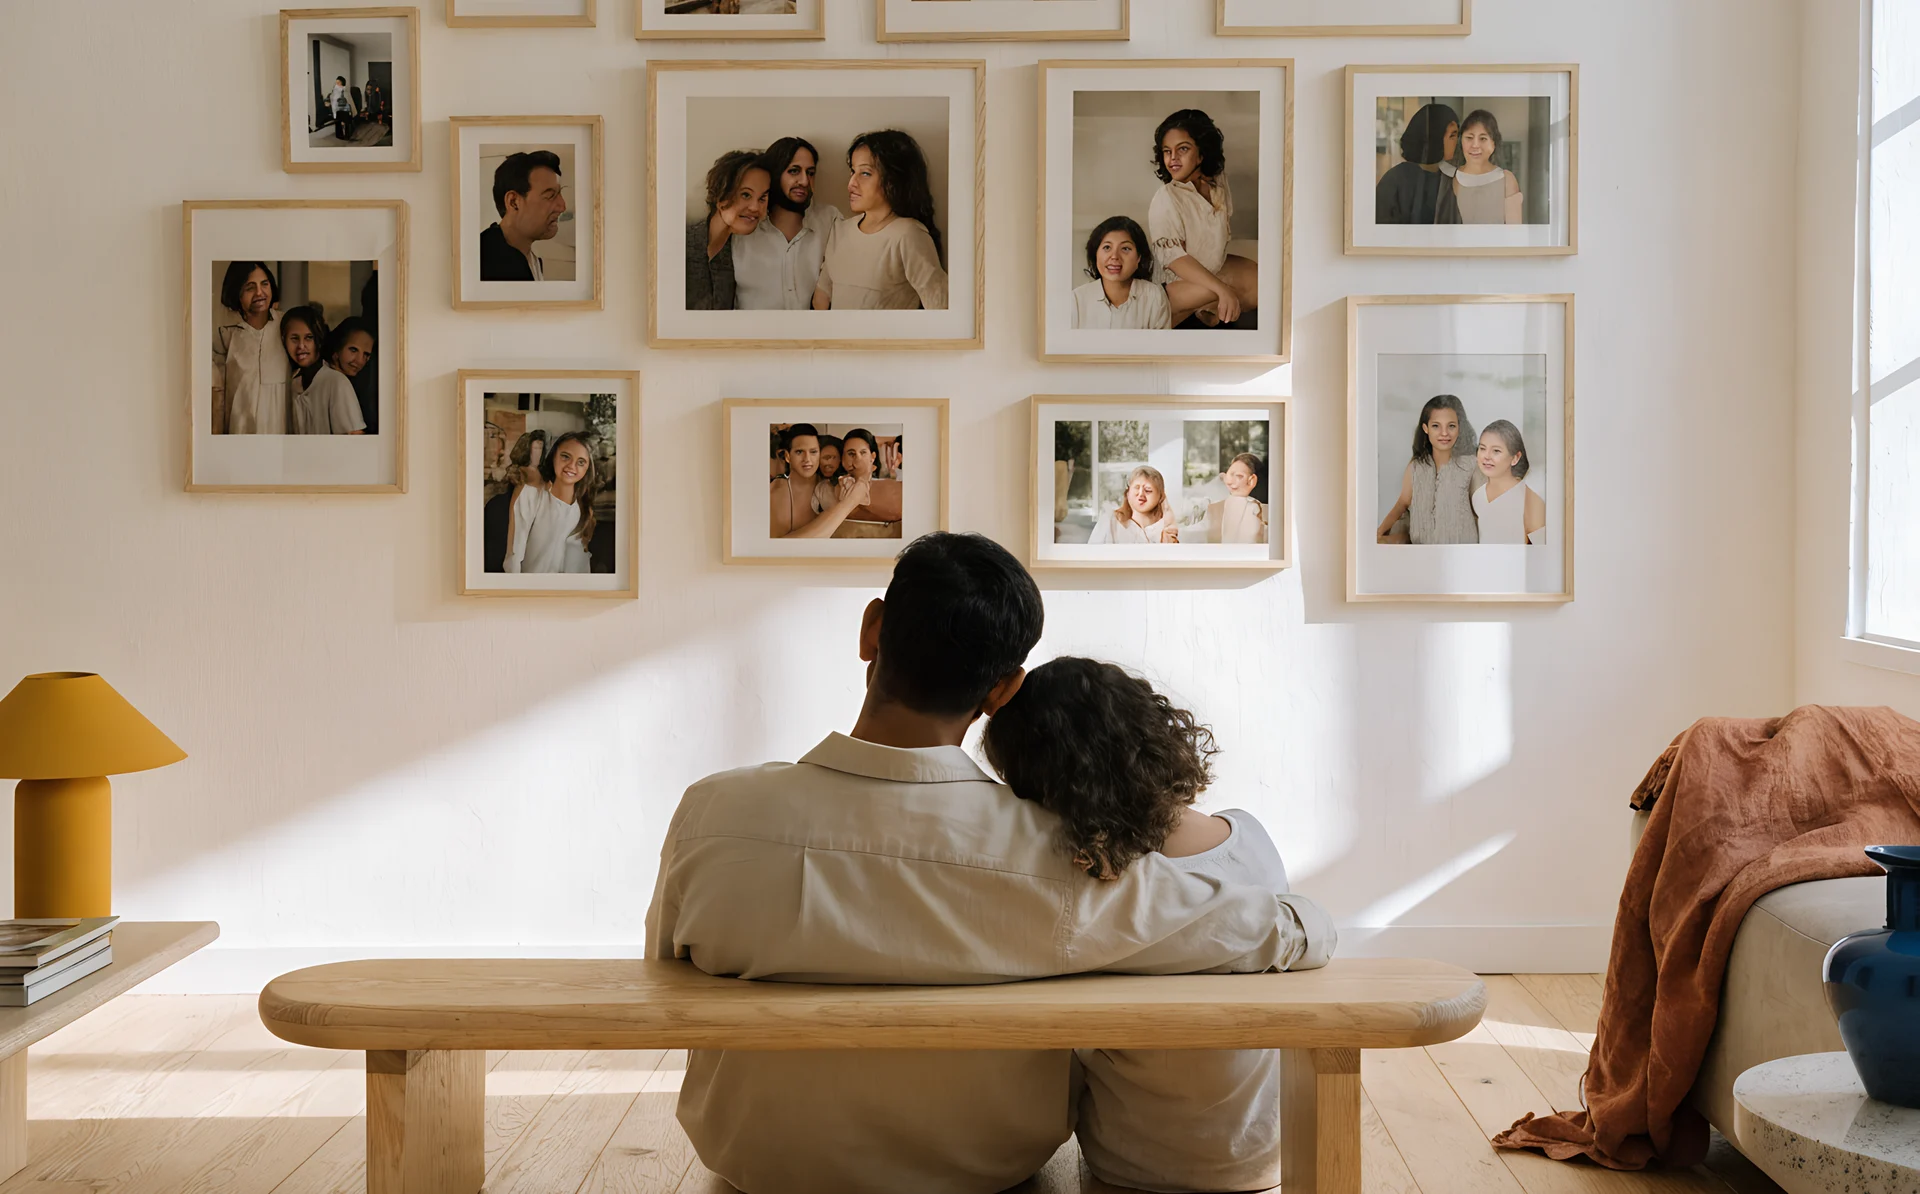
The best family photo wall ideas pair a layout that fits your space with a way of organising the photos that tells a story, by generation, by family branch, or in date order, then leave room to add more as the family grows. A legacy wall earns its spot because it shows the people you live with every day, not just decoration.
One reader put the feeling well in a comment on Our Fifth House: "We moved two years ago and haven't re-hung our family photos. I miss seeing my family hang out in our hallways." The photos do quiet work, and the space feels emptier without them.
This guide stays specific to family photos: the multi-generational and legacy angle, the layouts that suit it, and how to plan one you can keep adding to. For the general mechanics of arranging any wall, the step-by-step planning guide covers the full process.
What is a multi-generational or legacy photo wall?
A multi-generational or legacy photo wall shows more than one generation in a single display, often arranged so the layout itself reads as a line of descent. You organise it by generation, by family branch, or chronologically, so a visitor can follow the story from grandparents to the youngest arrival without you saying a word.
The organising principle is what separates a legacy wall from a random cluster of frames. Three approaches work, and you can blend them:
- By generation. Group the oldest photos together, then the next generation, then the youngest. A vertical run reads top to bottom as time passing.
- By family branch. Give each side of the family, or each sibling's line, its own column or cluster. Good when two families have merged and both want representation.
- Chronologically. Run the photos in date order along a row or up a staircase, oldest to newest. This is the clearest way to show a line of descent.
Pick one as the backbone before you choose frames. The structure decides how many photos you need and where the gaps fall.
Which layout suits a family photo wall?
The right layout depends on the space and the feeling you want. A staircase suits a family home with a stairwell, a uniform grid suits one generation shown formally, and a layered salon wall suits a collection that grows over years. Match the layout to the wall first, then fit the photos to it.
Here is how the common family-wall types map to layouts and the people they suit.
| Family-wall type | Best layout | Who it suits |
|---|---|---|
| Staircase family gallery | Stairway | Family homes with a stairwell to fill, photos climbing alongside the steps |
| Portrait grid | Grid | A single generation or one year, shown calm and formal in same-size frames |
| Salon family wall | Salon | A mixed, layered collection meant to grow over time |
| Multi-generational line | Any of the above, organised by date or branch | Households showing several generations as a clear line of descent |
The staircase family gallery
The staircase family gallery runs photos up the wall alongside the stairs, following the rise of the steps. It is a classic for family homes because the stairwell is usually empty, well travelled, and tall enough to hold a generation or two. Stagger the frames so each sits at a consistent height above the step below it. On a narrow staircase, use acrylic rather than glass, because frames there get knocked. The full mechanics live in the stairway layout guide.
The portrait grid
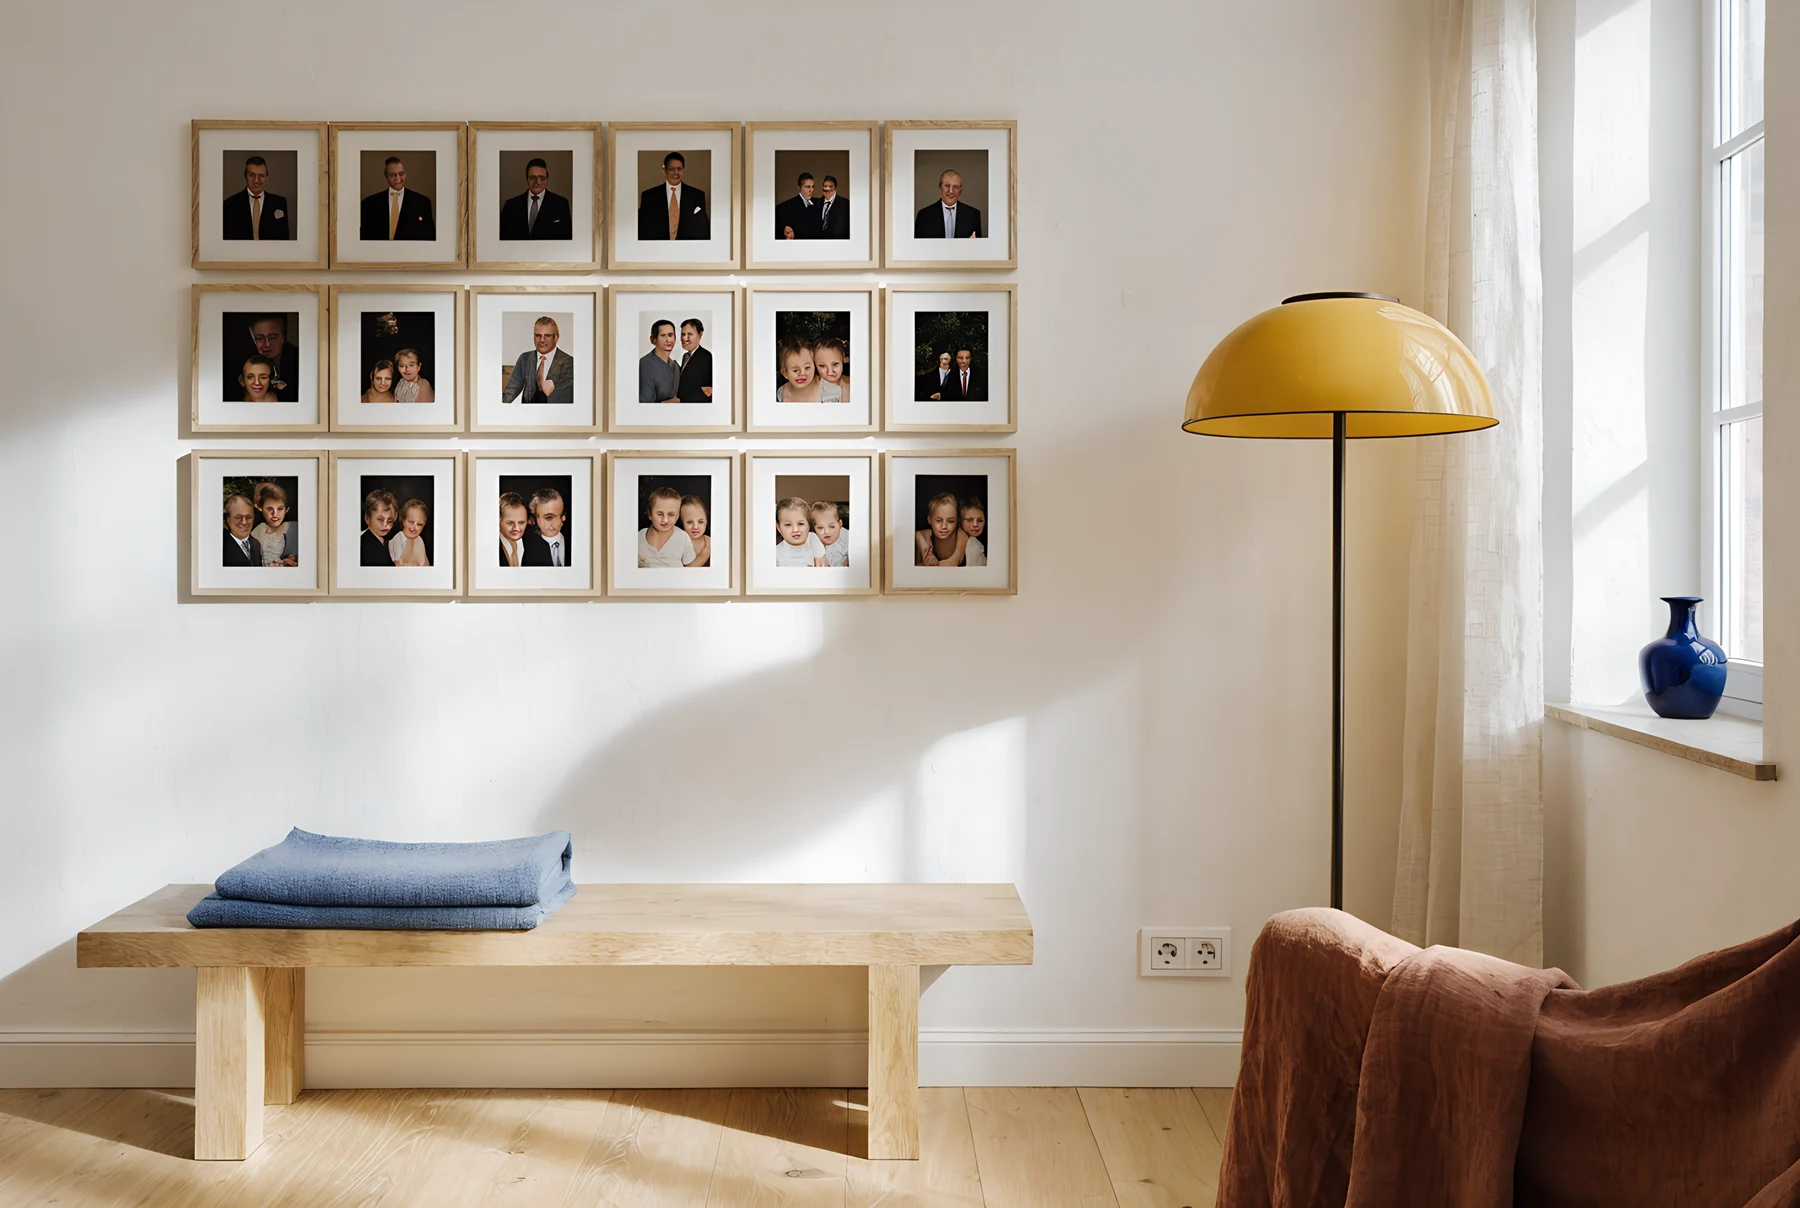
A portrait grid is a uniform arrangement of same-size portraits, evenly spaced, calm and formal. It suits one generation or a set of photos taken the same way. Identical frames and equal gaps make even casual snaps look considered, which is why this format reads as formal. The grid layout guide covers the column maths.
The salon family wall
A salon family wall is a mixed, layered display of different frame sizes packed closely together, designed to grow. It is the most forgiving format for a family that keeps taking photos, because you add new frames into the gaps rather than restarting. Start with a few anchor pieces and build outwards. See the salon layout guide for how to balance the cluster.
How do you plan a family photo wall so it can grow?
Plan for growth by choosing a layout you can extend: a row you lengthen, a ledge you add frames to, or a salon cluster you build outwards, so new arrivals and new photos always have a place. MK Envision recommends a "grow as you go" approach for exactly this reason, so the wall expands as the family grows rather than freezing on the day you hang it.
Build the growth in from the start:
- Leave a defined edge to extend. A horizontal row can keep travelling along the wall. A picture ledge lets you add and reshuffle frames with no new holes.
- Keep one frame style in reserve. Note the exact frame you used so a later photo still matches the set.
- Anchor the centre, grow the edges. Place your most important photos centrally and add newer ones around them, so the heart of the wall stays put.
The practical decisions sit outside this post on purpose, so each gets proper depth. Choose the photos first with the guide to choosing family photos to print. Work out frame sizes and how many you need, keep the gaps between frames consistent (the usual advice is 2 to 3 inches, which is 5 to 7.5 cm), and hang the whole thing at the right height.
Should a family photo wall be black and white or colour?
It does not have to be one or the other, but converting everything to black and white is the reliable way to unify photos shot across decades on different cameras. The Decorologist recommends black and white to pull a multi-generational set together, because a single tone settles the clashes between eras.
Colour keeps the warmth and period detail that some families treasure, so it still works when your photos already share a palette, say a single family holiday. For a legacy wall spanning several generations, cohesion usually wins, which is why the advice leans monochrome. The black and white versus colour comparison walks through how to decide for your own photos.
Plan it on your actual wall first
Before you put a single hole in the plaster, lay the family photos out on a photo of your actual hallway or stair wall and move them around until the line of descent reads the way you want. Planning the arrangement on screen means you settle the photos, sizes and spacing once, not after several rounds of patching. You can also leave clear space for the frames you will add later, so the wall has somewhere to go.
That on-the-wall preview is what the Curate planner does: you upload a picture of your own wall, place your prints on it, and see the layout before you buy or hang anything. It is free to plan with, and you can save the layout and come back to extend it later.
If the wall starts to feel busy as it grows, the fix is usually visual weight and spacing rather than fewer photos. The guide to a gallery wall that looks cluttered covers how to settle a crowded display.
Frequently asked questions
How do you arrange a multi-generational photo wall?
Arrange it by generation, by family branch, or in date order, then keep that structure consistent across the wall. A vertical run or a staircase reads naturally as time passing, so it suits a clear line of descent from oldest to youngest.
Should family photos be in black and white or colour?
Black and white is the dependable way to unify photos taken across different decades and cameras, which is why The Decorologist recommends it for multi-generational sets. Colour keeps period detail and warmth, so use it when your photos already share a palette.
How do I make a family photo wall I can add to later?
Choose a layout you can extend: a row you lengthen, a picture ledge you add frames to, or a salon cluster you build outwards. MK Envision calls this a "grow as you go" approach, and keeping one frame style in reserve means later photos still match.
What is the best layout for family photos on a staircase?
A staircase family gallery, with frames climbing alongside the steps at a consistent height above each step. It fills an often-empty wall in a family home and holds a generation or two comfortably. The stairway layout guide covers the spacing.
How many photos should a family photo wall have?
Enough to fill your chosen layout without crowding, which depends on frame sizes and wall width rather than a fixed number. Work it out from the wall itself using the gallery wall sizes guide, and leave gaps if you plan to add more later.
Lay your family photos out on a photo of your own wall before you commit. Open the Curate planner, upload a picture of your hallway or stair wall, and move the frames until the layout looks right. Save it, hang it when you are ready, and add to it as the family grows.