
How to hang a gallery wall without nails (renter-friendly)
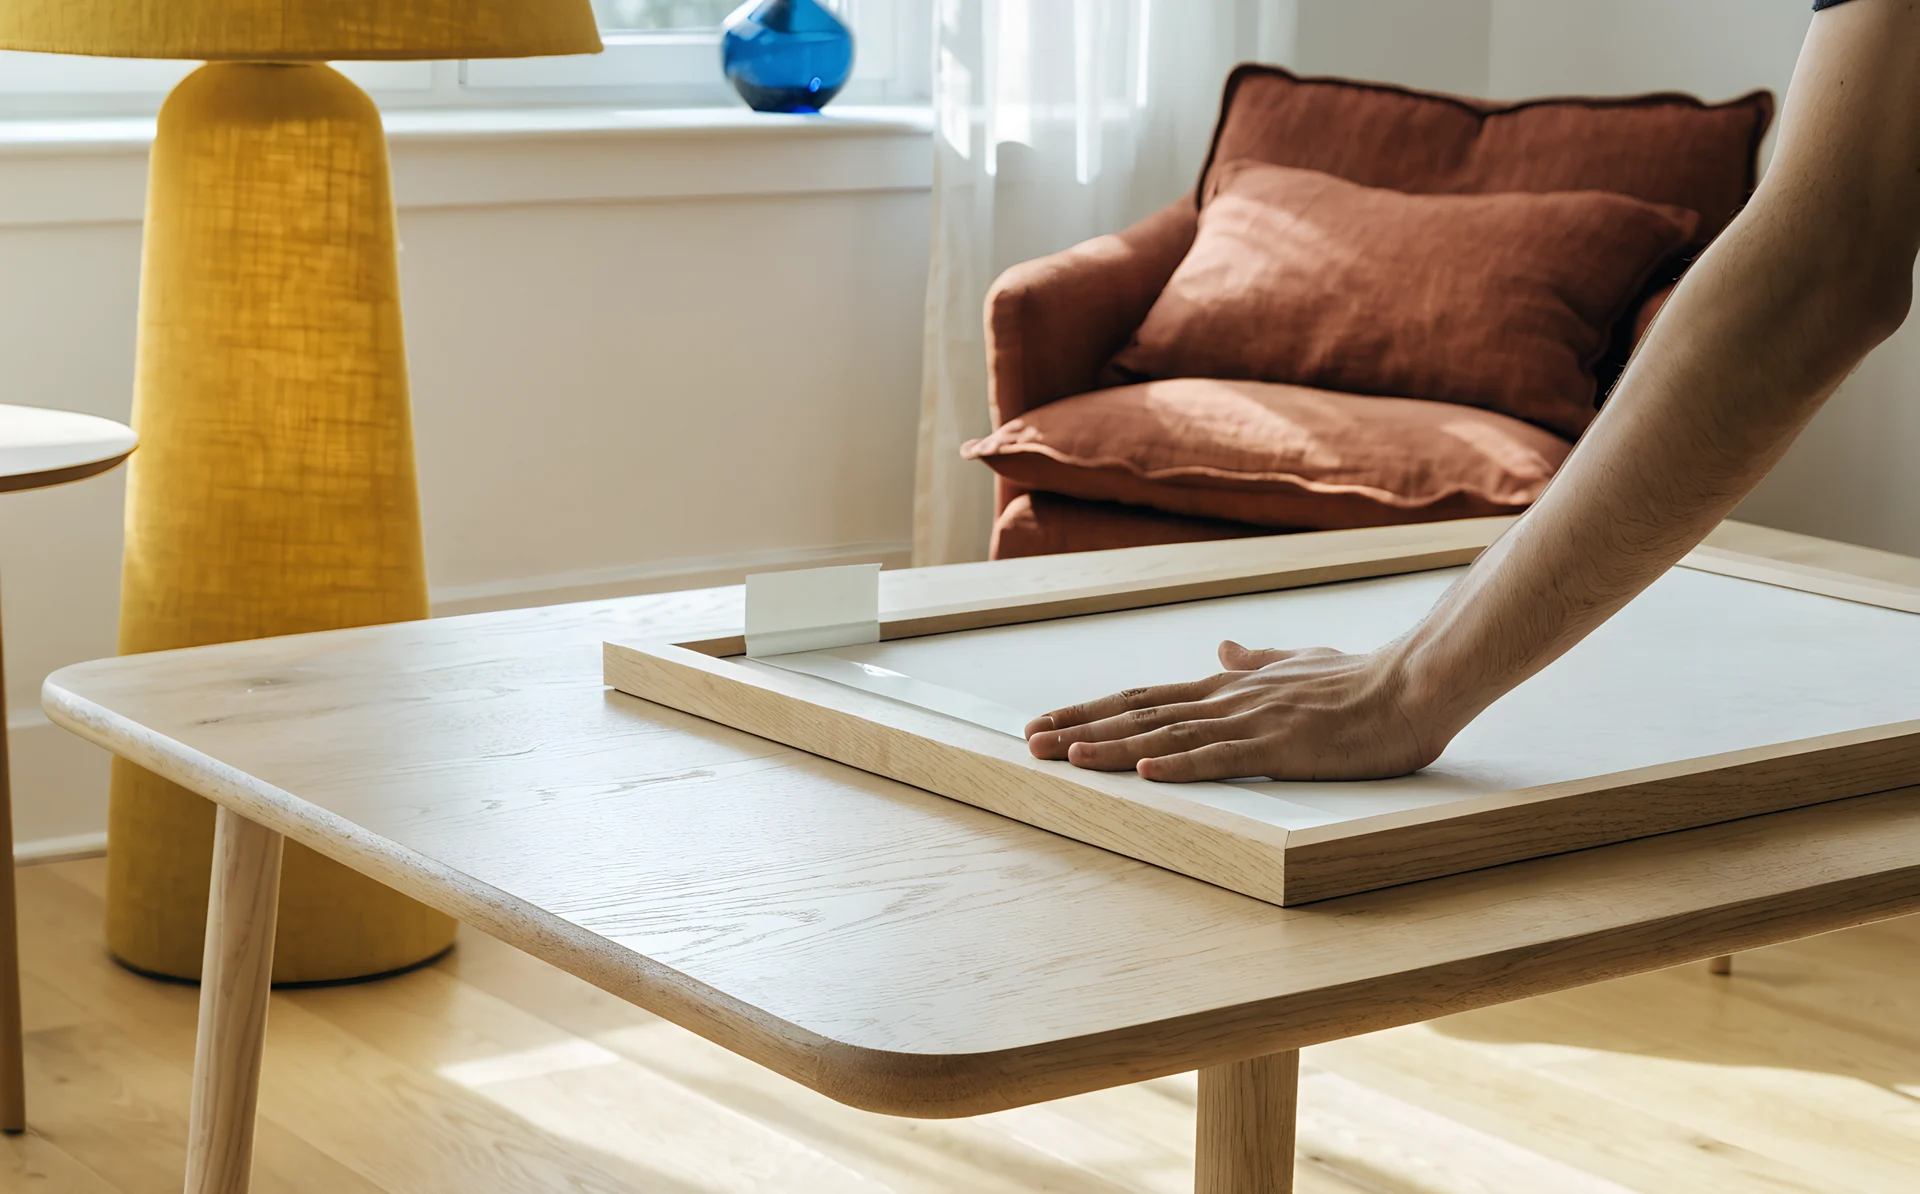
To hang a gallery wall without nails, match each frame to its weight: unframed prints go up with washi tape, framed pieces under about 5 kg (11 lb) go up with Command picture-hanging strips, and anything heavier sits on a picture ledge or leans on furniture. Apart from the few screws a picture ledge needs, there is no drilling and there are no nail holes to fill.
A renter friendly gallery wall is entirely doable, and you do not have to compromise on the look. The trick is honesty about limits. Adhesive holds less than a screw in a stud, it fails in the wrong conditions, and most of it is single use. Once you respect those three facts and plan around them, a damage-free gallery wall goes up cleanly and comes down without taking the paint with it.
How to hang a gallery wall without nails: the best methods
The best no-nail method comes down to weight. For most framed prints, Command picture-hanging strips are the renter default. For heavier frames or a wall you want to rearrange often, a picture ledge wins. For paper posters, washi tape is enough; test it on the paint first. Plan the layout before you stick anything, because the strips do not get a second chance.
3M aims its strips at renters. In its UK marketing, 3M UK says: "Holding power and damage free removal make Command Strips perfect for rented homes and accommodation where drilling isn't allowed, helping you ensure you keep your deposit!" That is the pitch, and it largely holds if you stay inside the rules below. The mydeposits scheme still advises asking your landlord in writing before you use damage-free products, and testing one first.
The other no-nail options each have a job:
- Picture ledges or shelves. Lean and layer frames on a shelf. This is the most flexible option, fully repositionable, and it carries heavier frames than any adhesive can. It is the renter's best friend for a wall you expect to change. It does need a few screws into the wall, so get your landlord's agreement in writing first.
- Adhesive hooks. Good for lighter framed pieces.
- Washi tape and poster putty (such as Blu-Tack). Lightweight paper prints and posters only. Putty can leave marks, and the mydeposits scheme says Blu-Tack marks do not count as fair wear and tear, so ask your landlord first or use washi tape instead.
- Velcro or hook-and-loop strips. Useful to stabilise a mid-weight frame against tilting, though not as the sole support for anything heavy.
- Leaning art on the floor or on furniture. Zero damage, zero commitment, and it reads as deliberate when you layer two or three pieces.
How much weight can Command strips hold?
Command picture-hanging strips hold up to about 7.2 kg (15 to 16 lb) per frame when you use enough pairs. In the UK they are rated to a maximum frame size of 60 by 90 cm (roughly 24 by 36 in). Weight climbs with the strip size and the number of pairs, so check the pack rating against your frame before you commit, because the strips are single use. Keep each frame to about three quarters of the 7.2 kg rating, roughly 5 kg (11 lb), because strips fail most often near their limit.
Here are 3M's picture-strip ratings:
| Strip size | Holds (approx.) | Pairs used |
|---|---|---|
| Small | 1.8 kg (4 lb) | across four pairs |
| Medium | 5.4 kg (12 lb) | across four pairs |
| Large | 7.2 kg (15 to 16 lb) | across four pairs |
| Extra Large | 9 kg (20 lb), US range only | across four pairs |
In the UK, the picture-hanging strips are rated up to 7.2 kg (about 16 lb) and a maximum frame size of 60 by 90 cm (roughly 24 by 36 in). Weigh the frame on a kitchen scale rather than guessing. A large frame with glass is heavier than it looks, and a strip set pushed close to or past its rating is the most common reason a wall ends up on the floor.
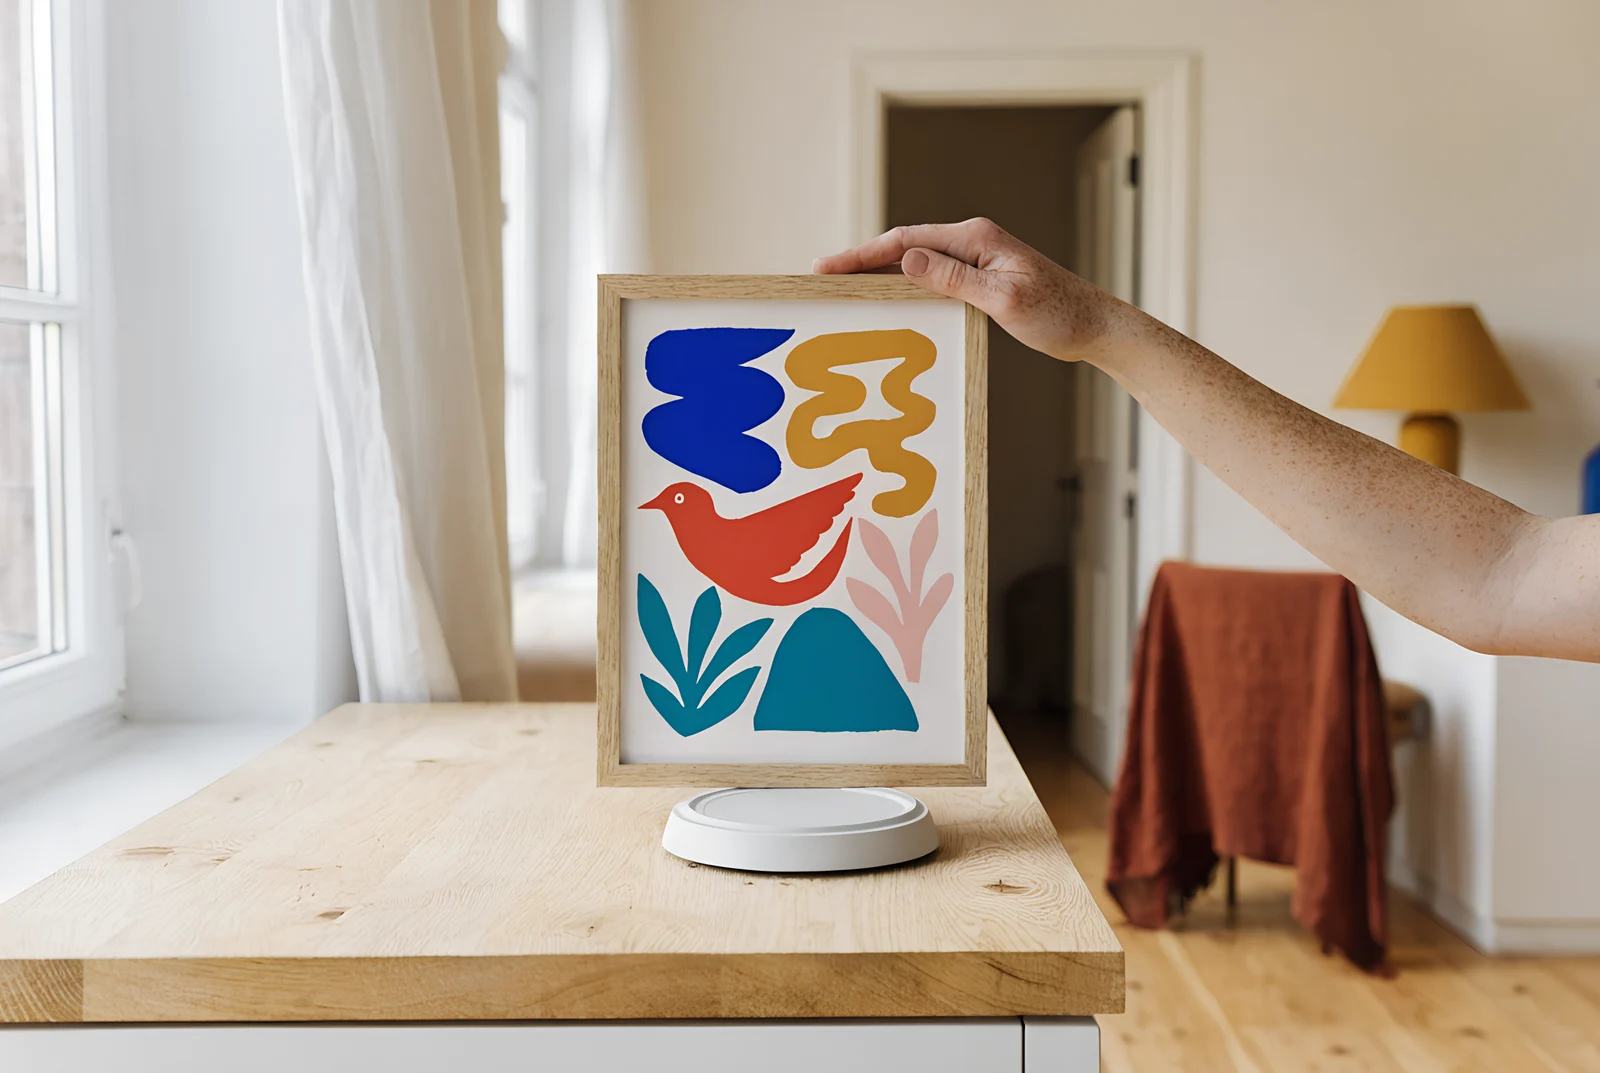
Which no-nail method fits each frame weight?
Match the method to the weight of the framed piece, not how big it looks on the wall. Under about 1 kg (2 lb), Small strips are enough, and unframed paper prints can go up with washi tape. From 1 to 3 kg (2 to 7 lb), reach for Medium strips or adhesive hooks. From 3 to 5 kg (7 to 11 lb), use Large strips with all four pairs, or a ledge. Over about 5 kg (11 lb), or 4 kg (9 lb) with glass, stop fighting the adhesive and use a ledge or lean it.
| Frame weight | Method that fits |
|---|---|
| Under about 1 kg (2 lb) | Small strips (washi tape for unframed paper only) |
| 1 to 3 kg (2 to 7 lb) | Medium Command strips or adhesive hooks |
| 3 to 5 kg (7 to 11 lb) | Large strips (all four pairs), or a picture ledge |
| Over about 5 kg (11 lb) | A picture ledge, or leaning on furniture or the floor |
The pattern is simple. Adhesive is for light to medium frames. The moment a piece feels heavy in your hands, move it to a ledge or lean it. A ledge carries the frames adhesive cannot, because it holds the weight along its length instead of asking the wall surface to take it.
What are 3M's rules for Command strips, and why do they matter?
Command strips fail when you ignore four rules, so treat these as make-or-break. Wait seven days after painting before you apply them. Do not use them on textured walls, wallpaper, vinyl, or any delicate or weak surface. The picture-hanging strips are single use. Remove them by stretching the tab slowly straight down, never by yanking outward.
Run through the checklist before the first frame goes up:
- Wait 7 days after painting. Fresh paint is still curing and the bond will not take. This is the rule people skip most, and it is the one that drops a wall a week later.
- Skip the wrong surfaces. 3M says not to use the strips on textured walls, wallpaper, vinyl, or delicate or weak surfaces. Rough or papered walls do not give the adhesive a clean, solid face to grip.
- Treat the strips as single use. Once a picture-hanging strip is stretched off, it is spent. You cannot reposition the frame and re-press the same strip, which is exactly why you plan the layout first.
- Remove them the right way. Stretch the tab slowly, straight down the wall, until the strip releases. Pull outward and you risk taking paint or a chunk of plasterboard with it.
- Mind the temperature. The indoor operating window is about 10C to 40C (50F to 104F). A cold hallway or a hot conservatory sits outside the band where the bond is reliable.

When do Command strips fail, and how do you avoid it?
Command strips fail mainly from heat, humidity, and bad removal. A warm, damp room can break the bond over weeks, and pulling a strip the wrong way tears the surface. You avoid both by keeping frames out of bathrooms and kitchens, staying inside the temperature window, and always removing by stretching the tab straight down.
Renters report this honestly. One Hometalk user wrote: "I've used them in the past and have loved them, but now nothing will stick! ... cool, fall night and all fell down! I am furious." Conditions change, and a bond that held all summer can let go when the weather turns.
Removal is the other failure mode, and it is the one that costs deposits. An Ask MetaFilter user described the learning curve: "I took some good chunks out of plasterboard walls in college dorms the first few times I used them, because I didn't yet have the knack for how to remove them." The fix is in the technique. Find the tab, stretch it slowly downward along the wall, and let the adhesive release on its own. If a frame hangs in a humid or hot spot, move it to a ledge instead, where conditions cannot break a bond that is not doing the work.
How do you lay out a renter-friendly gallery wall without holes?
Hang the largest piece first as the anchor, on a ledge or Large strips, then arrange lighter frames around it with strips sized to each frame. Or go all-ledge for full flexibility. Keep the gaps consistent and plan the whole layout before you stick anything, because the strips are single use and re-sticking wastes them.
The renter method, step by step:
- Plan the layout first. Decide the exact arrangement before any adhesive touches the wall. This matters more for renters than for anyone else, because a single-use strip you peel off to reposition is a strip you have thrown away. Working it out on a photo of your wall first means the strips go up once, in the right place. (For the full floor-layout and paper-template method, see how to plan a gallery wall.)
- Set the anchor. Put the largest, heaviest piece up first. If it is over about 5 kg (11 lb), or 4 kg (9 lb) with glass, it goes on a ledge. If it is within strip range, use Large strips with all four pairs. Everything else hangs in relation to this piece.
- Build outward with lighter frames. Add the smaller frames around the anchor, each on strips matched to its weight from the table above.
- Keep the gaps even. Consistent spacing is what makes a mix of frames read as one wall. A gap of 2 to 3 in (5 to 7.5 cm) suits most walls; see gallery wall spacing for the detail.
- Or go all-ledge. If you expect to rearrange often, skip the strips and run one or two ledges. You can re-lean and re-layer the frames as many times as you like with no waste at all. The ledge approach suits both a tidy grid layout and a denser, layered salon-style wall.
For how big to make each frame and how many to use, see gallery wall sizes. For how high to hang the arrangement, see how high to hang a gallery wall. If you are still choosing the overall shape, the gallery wall layouts guide compares every type.
Do small nail holes really cost you your deposit?
It depends on your tenancy agreement, so read it first. In the UK, your landlord can deduct the cost of filling fixing holes from your deposit, because adjudicators treat them as repairs rather than fair wear and tear, and the Renters' Rights Act 2025 did not create a right to hang pictures in England. Get your landlord's permission in writing before any hole goes in, and photograph the walls at check-in. Damage-free methods, used within their limits, avoid most of the argument.
This is the real reason the no-nail approach is worth the extra care. Fixing holes can be charged as repairs, and you can end up arguing over the patch-and-repaint job at the end of a tenancy. A wall that comes down clean, with the paint intact, gives a landlord nothing to deduct against. That is the whole appeal of a no nail gallery wall: you keep the look while you live there, and you hand back a wall that looks untouched.
Frequently asked questions
Can you hang a gallery wall without making any holes?
Yes. Command picture-hanging strips, adhesive hooks, washi tape on unframed prints, and simply leaning frames on furniture all hold art with no holes, while a picture ledge needs only a few screws. Match the method to each frame's weight, and use a ledge or leaning for anything over about 5 kg (11 lb).
How much weight can Command picture-hanging strips hold?
Across four pairs, Small strips hold about 1.8 kg (4 lb), Medium about 5.4 kg (12 lb) and Large about 7.2 kg (15 to 16 lb); a US-only Extra Large size holds about 9 kg (20 lb). In the UK they are rated up to 7.2 kg and a maximum frame size of 60 by 90 cm (roughly 24 by 36 in). Keep each frame to about three quarters of its rating.
Do Command strips damage paint when you take them off?
They can if you remove them wrong. 3M's method is to stretch the tab slowly straight down the wall until the strip releases. Pulling outward, or yanking, is what lifts paint and plasterboard, as one Ask MetaFilter user found in their college dorm.
What is the best no-nail option for heavy frames?
A picture ledge. It carries heavier pieces than any adhesive because it holds the weight along the shelf rather than on the wall surface, and it lets you re-lean and rearrange with no waste. Leaning the frame on furniture or the floor works too.
Why do Command strips fall down after a while?
Usually heat or humidity breaks the bond over time, which is why frames in bathrooms, kitchens, or hot conservatories are risky. Keep them inside the 10C to 40C (50F to 104F) window, wait seven days after painting before applying, and avoid textured walls, wallpaper, and vinyl.
Plan the whole renter wall on a photo of your actual wall first, move every frame until it looks right, and check the spacing before a single strip goes up. Because the strips are single use, getting the layout right on screen first is what keeps the wall clean and your deposit intact. You can try the Curate planner free, no account needed.